Types of textures for custom materials
Introduction
This is not a tutorial for creating or applying materials for mapping, but rather a reference for commonly used types of images for a material. Please refer to other pages for relevant tutorials.
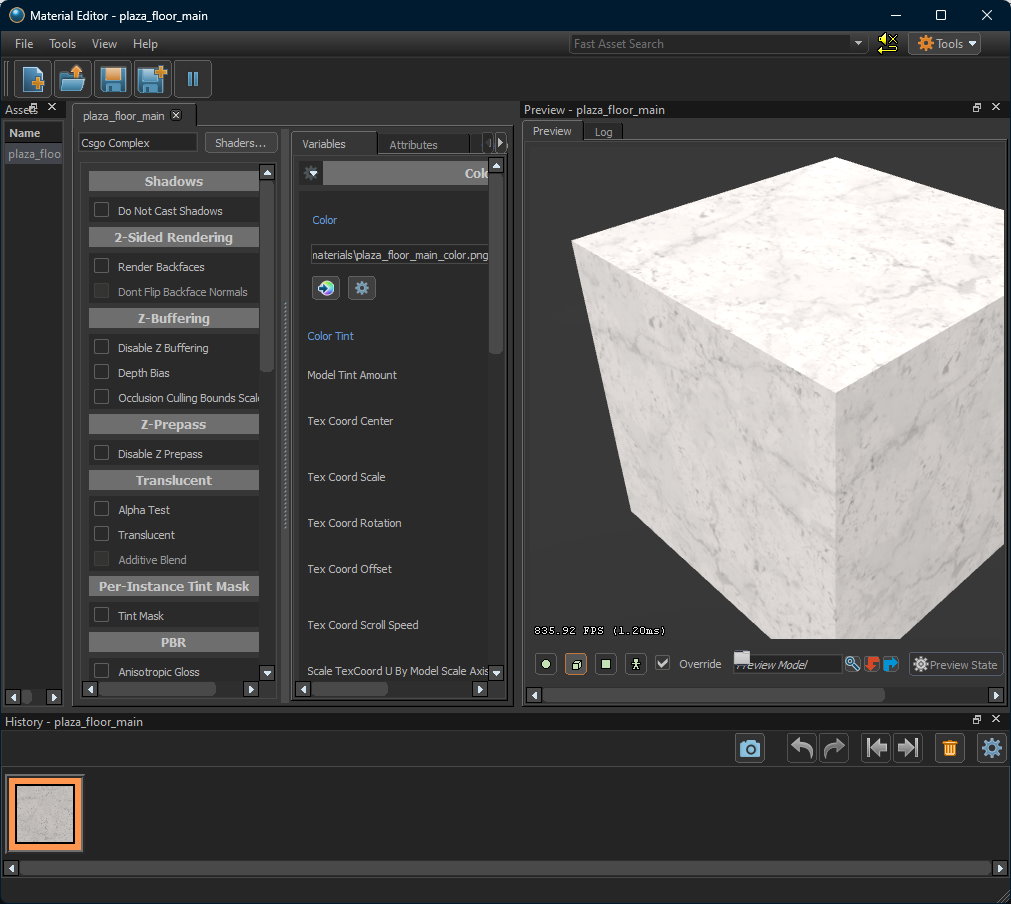
In order to put a texture onto any surface on a map, a material is required. To create a material, simply open Material Editor from the Workshop Tools, which looks something like below.
Requirements
In general, the image(s) used for a material should meet the requirements below at minimum.
- Format is
.png - Width and height must be powers of
2(e.g.32,64,128,256, etc.).
Shader
CS 2.0 uses the shader Csgo Simple by default for a material. A shader in this context is used to define different aspects of a material (e.g. how glossy it is, which part is trasparent, etc.).
A material should have one image at minimum, which is used for coloring. If you simply want to put an image without any other settings to a surface of a map, then the Csgo Simple shader should be sufficient.
Finally, the material will be saved as a .vmat file which can be browsed and used in Hammer Editor for mapping.
Image Name Suffixes
The list of image name suffixes below (non-exhaustive, more will be added as more updates come in) explains the use of different images for a material and how they work in a very high level.
Please note that some of the images can only be used for the shader Csgo Complex. To make a glass material, please use the shader Csgo Glass, which will be covered in a separate tutorial.
Example Usage
For example, if you want to create a material my_material.vmat that has coloring and is transparent, then two images should be created.
my_material_color.pngfor coloring, assuming its size is1024x768pixels.my_material_trans.pngfor transparency mask, the size must be1024x768pixels, which means the sizes of all images must be the same.
Shader Parameters
_color- Used to tell the engine how to "paint" the surface.
- Most of the materials should have this image at minimum.
_mask- Color tint mask. This is useful when you want to duplicate an instance with a different color.
- For example, if you want to put two cars of the same model but with different color, then you do not have to create a new material or a new model, you would just need to change the color tint of the instance.
- White = full tinting, Black = no tinting.
- Color tint mask. This is useful when you want to duplicate an instance with a different color.
_normal- Normal map, or known as a bump map, which is used to define how the surface looks like (e.g. orange peel texture).
- It is rarely drawn or created by hand, there are multiple tools available to generate a normal map easily.
- One of them is an online tool that can create a normal map for free with a great 3D preview capability https://cpetry.github.io/NormalMap-Online/.
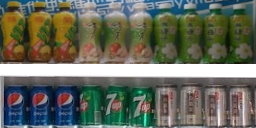
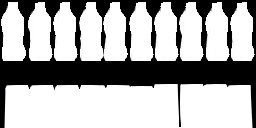
_trans- Close to an alpha mask, which is a grayscale image used to define the opacity of an image.
- The part closer to white (i.e. grayscale value of
255) is more light blocking, while that closer to black (i.e. value of0) is more transparent. - One example image is shown below, where the beverage container parts are visible and the rest will become invisible on the engine.
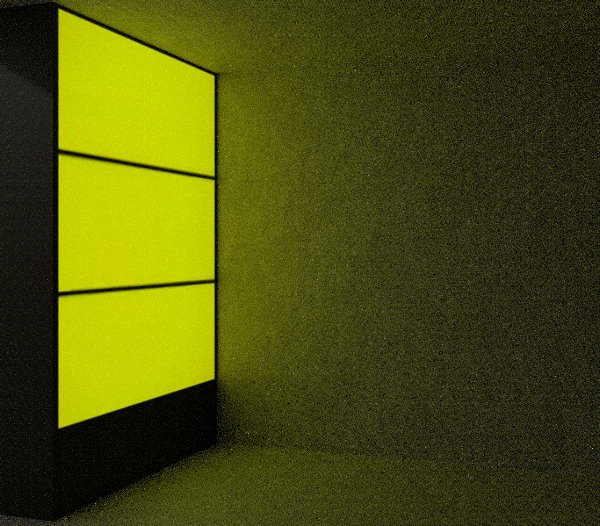
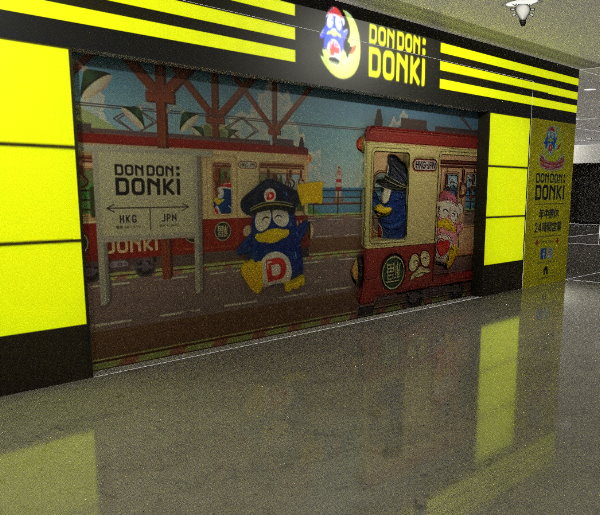
_selfillum- A grayscale image that allows creation of illumination without using a light entity.
- White = 100% light, Black = 0% light.
- The image below shows how the illumination looks like even without any light entities on the map. Notice how the yellow part illuminates.
_rough- An RGB image that defines how glossy or reflective the material is.
- White = no reflection/flat, Black = highly reflective/glossy
- A cube map should be used for the reflection to work.
- The image below shows how the reflection works, note that the area is surrounded by the entity
env_combined_light_probe_volume.
References
- A more exhaustive list can be found at https://developer.valvesoftware.com/wiki/Category:Shader_parameters.