Import a static model from Blender
Introduction
For simplicity, this tutorial only covers the essential part to import a static model (i.e. no animation, joints, etc.) with a single material from Blender. Please check out other tutorials if you would like to adjust other settings or to import more complex model(s).
Settings in Blender
The following settings are used to create the model.
- Blender 4.0 (any version at 2.80 or above should also work).
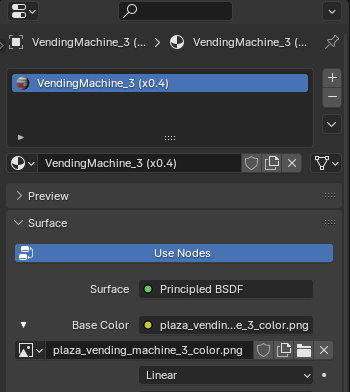
- Only one material is used.
- The material should have already been defined in Material Editor with a relevant
_colorimage at minimum. - The material name in Blender does not matter, what it matters it the image name that the material refers to (i.e. should be something like
my_material_color.png). - If the material has other images like roughness mask, then you may not need to define it in Blender if you do not need it for previewing the model in Blender.
- The material should have already been defined in Material Editor with a relevant
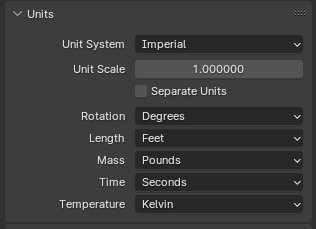
- The scene should use the
Imperialsystem for measurement.- 1 unit in Source 2 Hammer Editor is roughly
0.4inch in Blender (scale down to about0.4xin ModelDoc Editor). - Or you could keep 1 inch in Blender as 1 unit in Hammer for simplicity, this tutorial will explain how to scale the imported model in the Workshop Tools later.
- 1 unit in Source 2 Hammer Editor is roughly
- Everything else should remain unchanged.
Exporting the Model
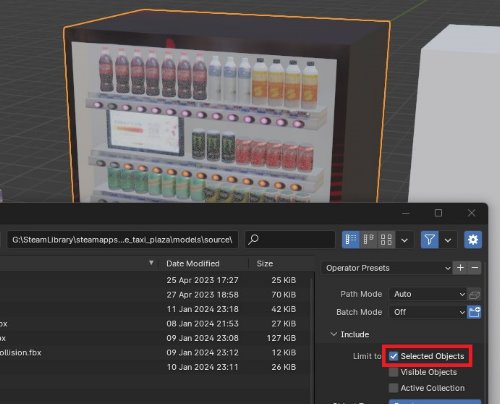
Once the model is created, select the model and then export the model as an .fbx file, remember to check Selected Objecs when exporting.
The file can be put at anywhere you want.
Importing the Model
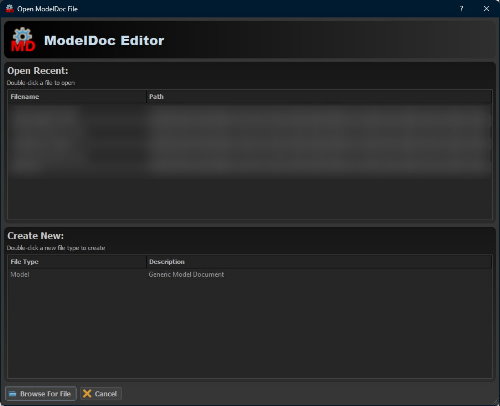
From the Workshop Tools, open ModelDoc Editor, something like below should be shown. Start by double-clicking on Model at the Create New section.
Save the file as a .vmdl file before proceeding. The file should be put under the directory <your-drive>:\\SteamLibrary\steamapps\common\Counter-Strike Global Offensive\game\csgo_addons\<your-addon-map-name>\models
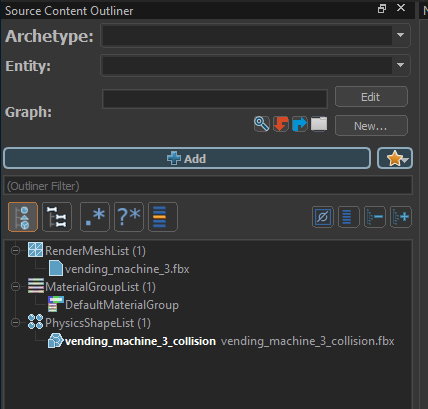
On the left hand side of the ModelDoc Editor screen, it has a node editor, which defines nodes/properties of the model. In this tutorial, we simply need two nodes.
Add Meshes, the.fbxfile you exported from Blender.DefaultMaterialGroup, the.vmatmaterial file you use for the model.- If you followed the previous step, then ModelDoc Editor may be able to automatially select the material for you.
- [Optional]
PhysicsShapeList, the.fbxfile used as the collision mesh.- Without this, the player will be able to pass through the model, which is usually not a desired behavior.
- While you may use the same
.fbxfile as the model file as the collision mesh, one with lower details should be used to optimize collision computation at gameplay.
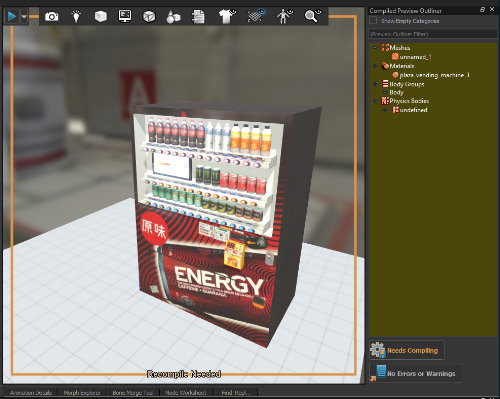
Finally, click on the button Needs Compling on the right hand side to build the model, which would automatically save the .vmdl file as an asset used for mapping.
Using the Model
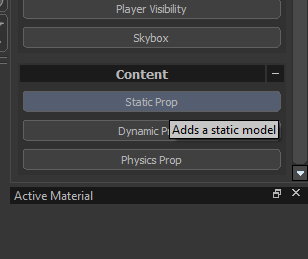
In the Hammer Editor, first add a prop_static entity. Then from the Object Properties on the right hand side, you should be able to pick the .vmdl file saved.
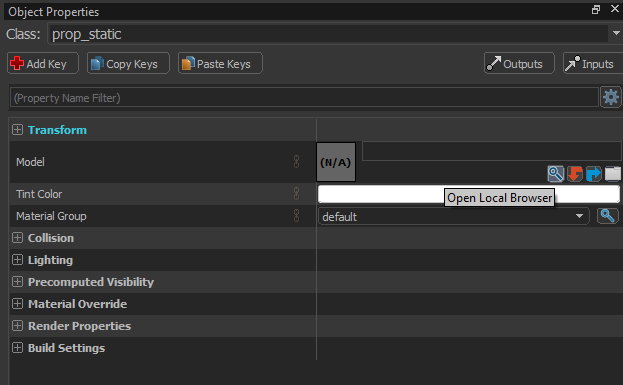
Ensure that you are in Objects mode by pressing 5 on the keyboard, you should be able to select the model and transform in the way you want.
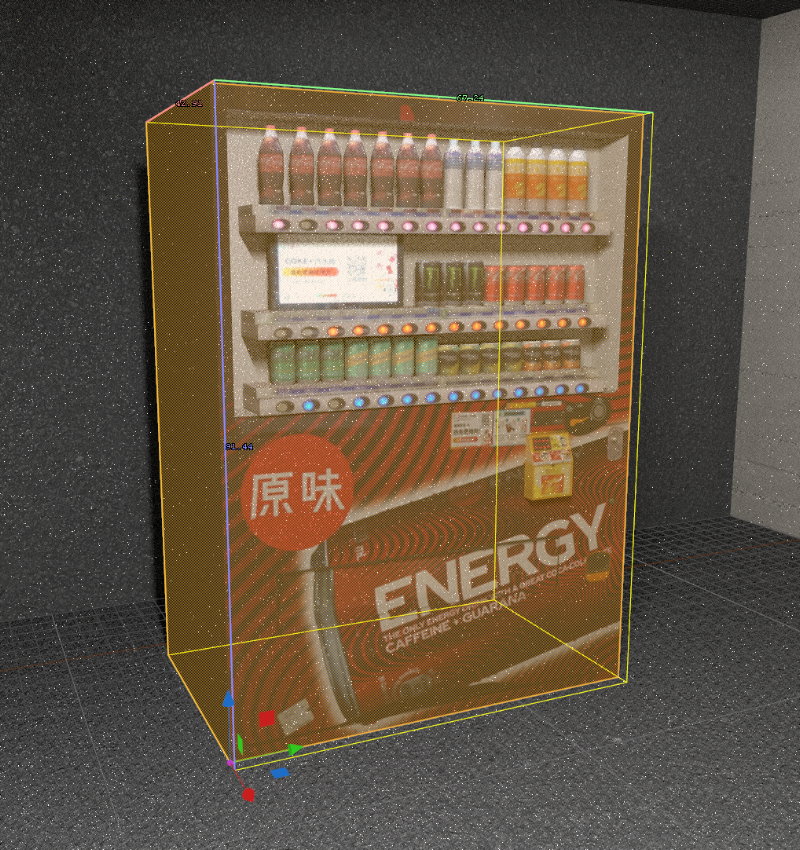
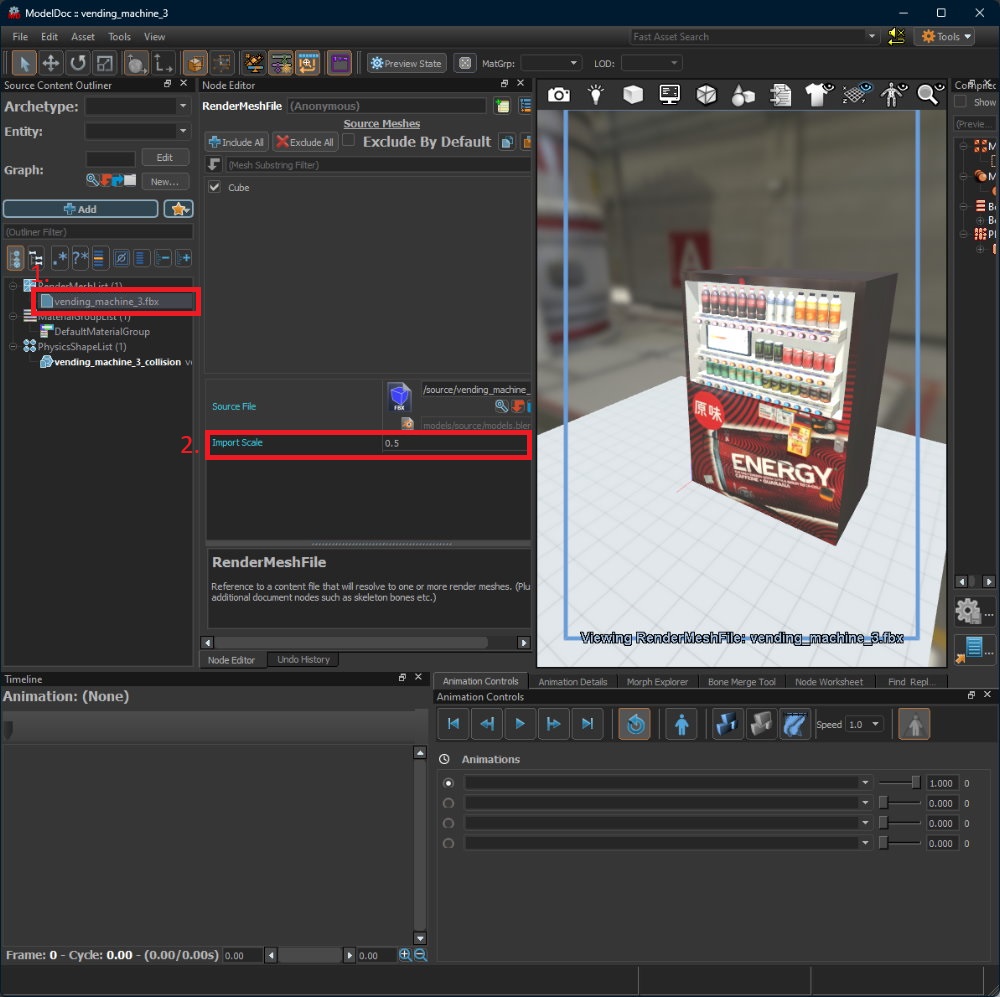
If you find that the scale of the model is not right, instead of scaling the entity itself,
you should do so by going to the ModelDoc Editor and adjust the Import Scale of the mesh.
Once the .vmdl file is re-compiled, then you should see the change on the Hammer Editor right away.