Create a 3D Skybox
Introduction
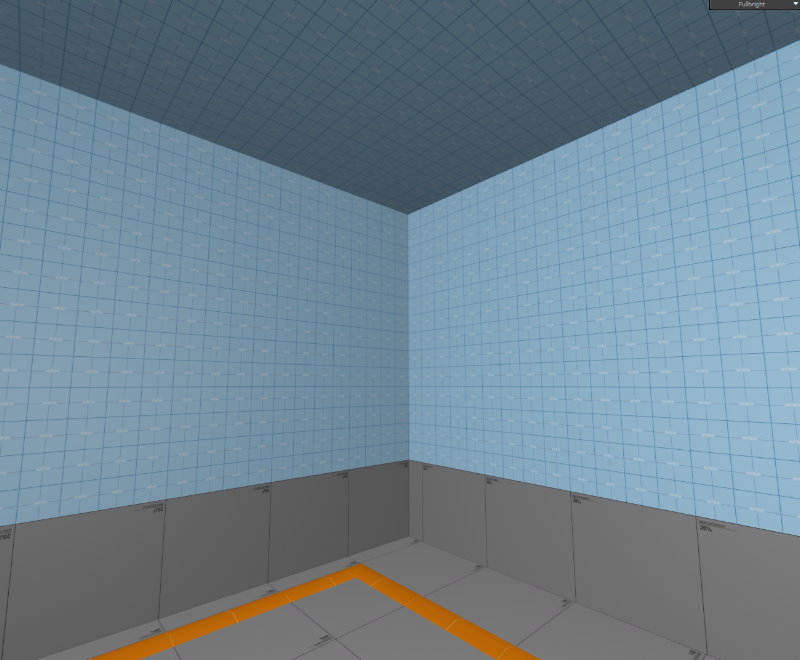
To create an illusion that the player is at outdoor, a map can be wrapped with a special material called toolsskybox.vmat, along with setting a skybox texture name so the map can simulate a particular outdoor effect (e.g. daylight, cloudy weather, etc.). This technique is known as 2D skybox.
3D skybox is a more advanced technique that allows rendering areas of a map that are inaccessible by the players. A 3D skybox is composed of meshes and static props that you would normally see in a map, but the engine/game will render such objects with more simple lighting and without collisions in mind. This makes 3D skybox rendering significantly less expensive.
In addition, the game enlarges the 3D skybox by 16 times by default, which means the 3D skybox can be as large as a city. So ideally any area that is out of the player-accessible boundaries should be put into a 3D skybox.
Constructing the 3D Skybox
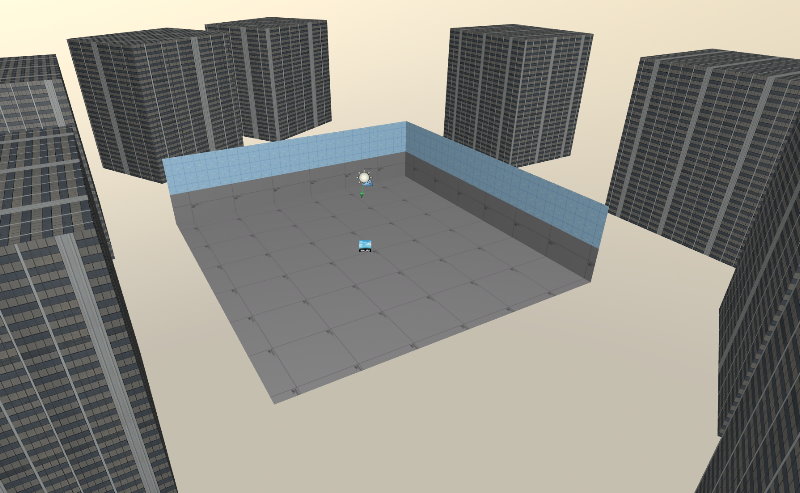
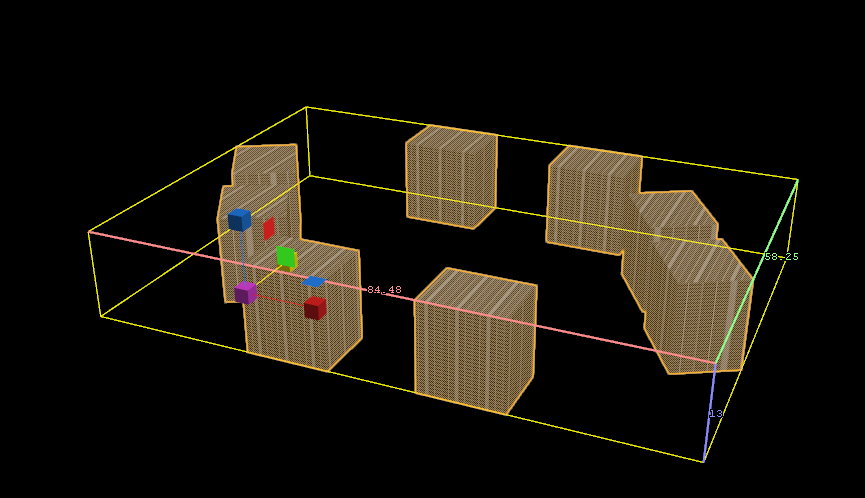
Assuming that you are working on a .vmap file already, simply build the meshes/objects on top of the original map. Be sure to create a group or a prefab so the meshes can be copied/moved later.
Note that there is no need to remove the existing 2D skybox meshes from the original map, and the 3D skybox meshes should not contain the 2D skybox meshes as well. In other words, the original map should still be enclosed with the 2D skybox meshes.
Porting to a New .vmap File
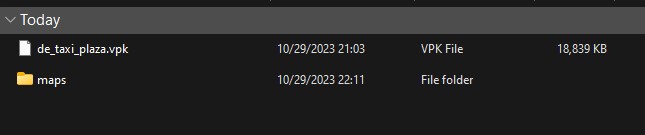
Once you are done with building the meshes for the skybox, then create a new .vmap file under the same addon. The name of the .vmap file does not really matter, but a more descriptive name like <map_name>_3d_skybox.vmap would be better.
After the new .vmap file is created, then copy/cut the 3D skybox meshes from the original map. Then go to the new map, use Edit -> Paste Special so that the meshes can be put into the exact same positions as on the original map. This is very important to ensure that the 3D skybox aligns with the original map.

Scaling Down
As mentioned in the beginning, the game scales up the 3D skybox meshes by 16 times, so to make the 3D skybox align with the original map, we have to scale down the meshes in the new .vmap file by 16 times about the origin.
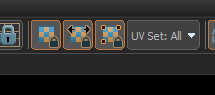
Be sure to enable Texture lock scale and Texture lock component manipulation, so that the UV mapping on the meshes will retain.
This can be achieved by doing the following.
- Select all the meshes/objects within the 3D skybox
.vmapfile. - On the left hand side, select the
Pivot Manipulationicon, followed by theWorld Originbutton so that everything is pivoted at the origin.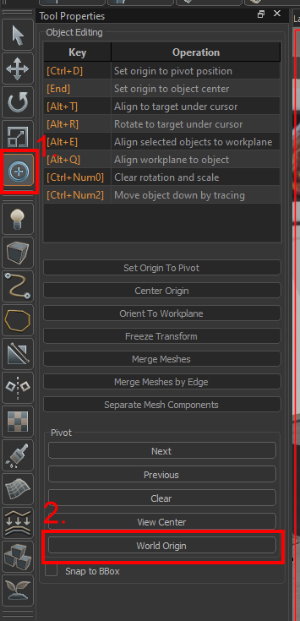
- Select the
Scaleicon on the left hand side (or pressE) to enter Scaling Mode, then scale down the entire map by dragging the gizmo, any extent would be fine. - Now, stop dragging, then on the numpad, type
.0625(which is equivalent to1/16).- You should see the bottom bar displaying something like
Scale: .0625.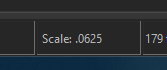
- You should see the bottom bar displaying something like
- Hit
Enter, the meshes should now become exactly 16 times smaller.
Adding Entities
To make the 3D skybox render correctly, add the following entities to the 3D skybox .vmap file.
light_environment- to light up the 3D skybox as the sun.- Remember to set the light direction as needed by rotating the entity.
env_sky- sets the 2D skybox texture used on the 3D skybox.- Select the desired skybox material.
sky_camera- tells the engine where to render the skybox.- This must be placed at the origin
(0, 0, 0).
- This must be placed at the origin
Setting Properties
To make the 3D skybox referencable by the main .vmap file in a later stage, from the menu, go to Map -> Map Properties. Then set 3D Skybox as the Map Type, and close the window.

Remember to save the 3D skybox .vmap just in case to avoid losing progress.
Building the 3D Skybox
While it is not required to build the 3D skybox .vmap for it to show up on the original .vmap in Hammer, it is a must to make the 3D skybox show up in the game.
To do this, simply press F9, which opens up a dialog. Then do a full compile with the two options Load in engine after building and Build cubemaps on load de-selected.
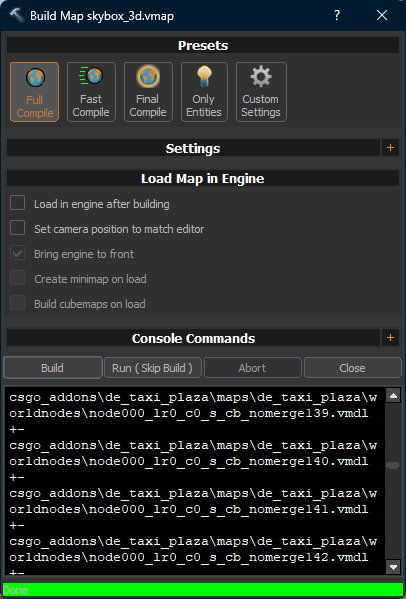
Press Build to build the 3D skybox .vmap file, close the dialog after the process is done. Remember to do this step every time you made an update to the 3D skybox.
Lining Up the Skybox
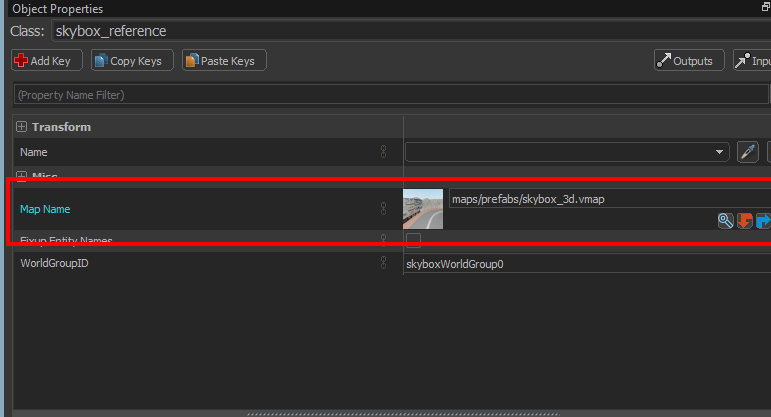
Now, go back to the original .vmap file, create a new skybox_reference entity. Then in the Properties, point the Map Name to the new .vmap file created for the 3D Skybox.
Also, ensure that the entity is positioned at the origin by pressing Alt + Enter, followed by setting the origin at (0, 0, 0).
The 3D skybox should now show up! Note that the 3D skybox will not be editable nor selectable from the original .vmap file, you could only make the modifications from the 3D skybox .vmap file.